.png?width=100&height=75&name=Logo%20wit%20(1).png)
Step 1: Go to ‘Settings’
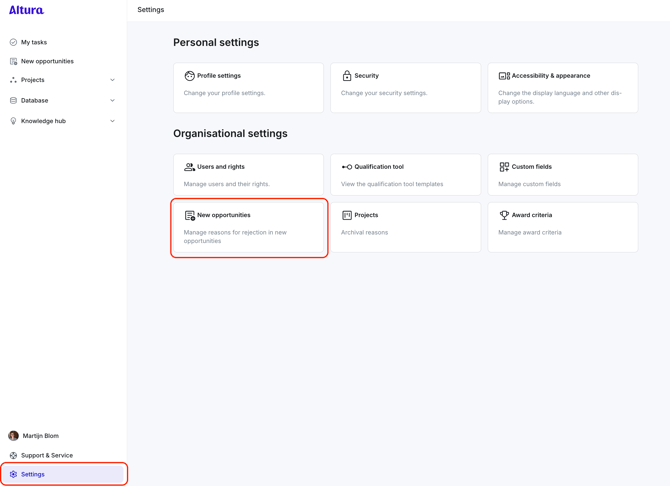
Click on Settings in the bottom-left menu.
Step 2: Click ‘New Opportunities’
Under Organization settings, click New Opportunities.
This section lets you manage how new opportunities are handled.
Step 3: Go to the ‘Rejection Reasons’ tab
At the top, you'll see two tabs: New Opportunity Lists and Rejection Reasons.
Click Rejection Reasons to proceed.

Step 4: Click ‘Add Rejection Reason’
Click the + Add rejection reason button at the bottom left of the screen.

Step 5: Enter the reason and click ‘Save’
Type the reason you want to add. For example: 'Not relevant'
Then click Save.

Step 6: Confirmation
After saving, a confirmation will appear:
“You have successfuly created a new rejection reason!”

That’s it! You can add multiple reasons and use them consistently when reviewing opportunities. This keeps your process organized and gives better insight into why opportunities are accepted or rejected.